

Before you start
- Custom styles are per resume. Each resume has its own stylesheet.
- The editor reports fatal stylesheet limits. Unsupported declarations or selectors may still be skipped; the engine limitations are listed beside the editor. If you see no change on the page, check those limits. See When a rule has no effect.
- Custom styles can’t add content, load fonts or images, or change what a section contains. They only restyle what’s already on the page.
Open the stylesheet editor
1
Switch to Design
Open your resume and select Design at the top of the editor, or press 2 when you’re not typing in a
field.
2
Open Advanced
Select Advanced in the row of groups at the top of the Design panel. The Advanced group opens and scrolls into
view.
3
Find Custom Styles
Scroll to Custom Styles, near the end of the Advanced group, just above Reset design defaults.
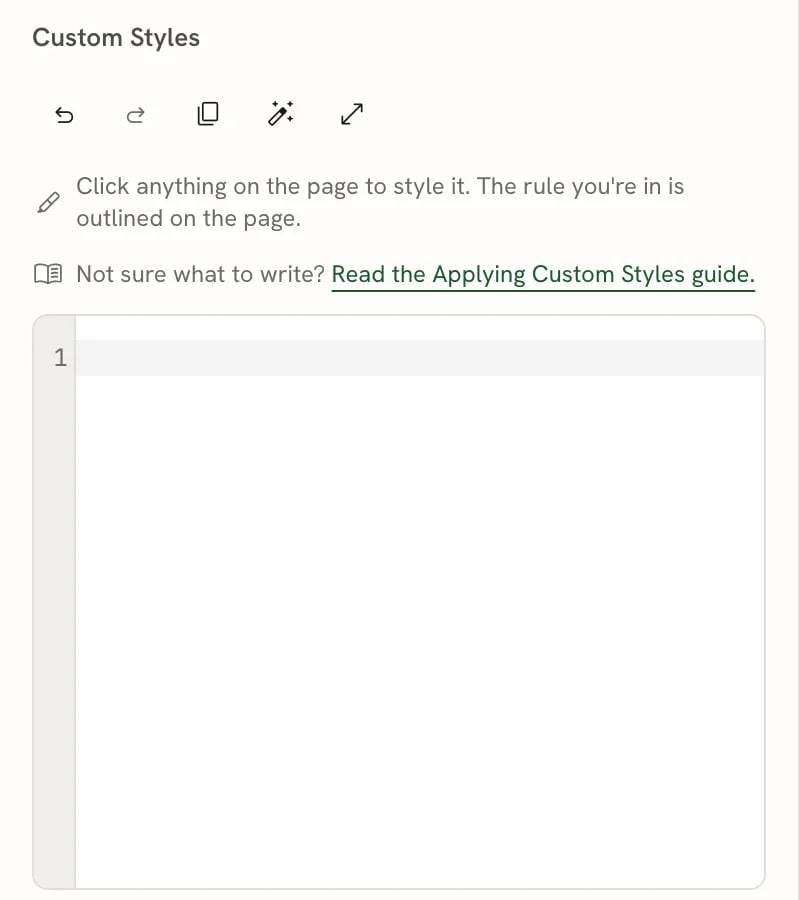
The Custom Styles editor, at the end of Design → Advanced
Reset design defaults doesn’t touch your custom styles. It resets the look (fonts, colors, spacing) and keeps your
stylesheet, paper size, language, date format and section layout.
Style one section or entry
The quickest way to start is to pick the thing you want to change on the page.1
Click it on the page
With the Custom Styles editor open, click the resume header, an entry (for example a job under Experience), or a
section without entries (such as Summary) on the page.
2
Type your declarations
The editor adds a rule for it at the end of your stylesheet, with a comment naming what you picked, and puts the
cursor inside the rule. Type the declarations you want, for example
color: #0f766e;.3
Check the page
The page updates as you type. While your cursor is inside a rule, everything the rule styles is outlined with a
dashed line on the page.
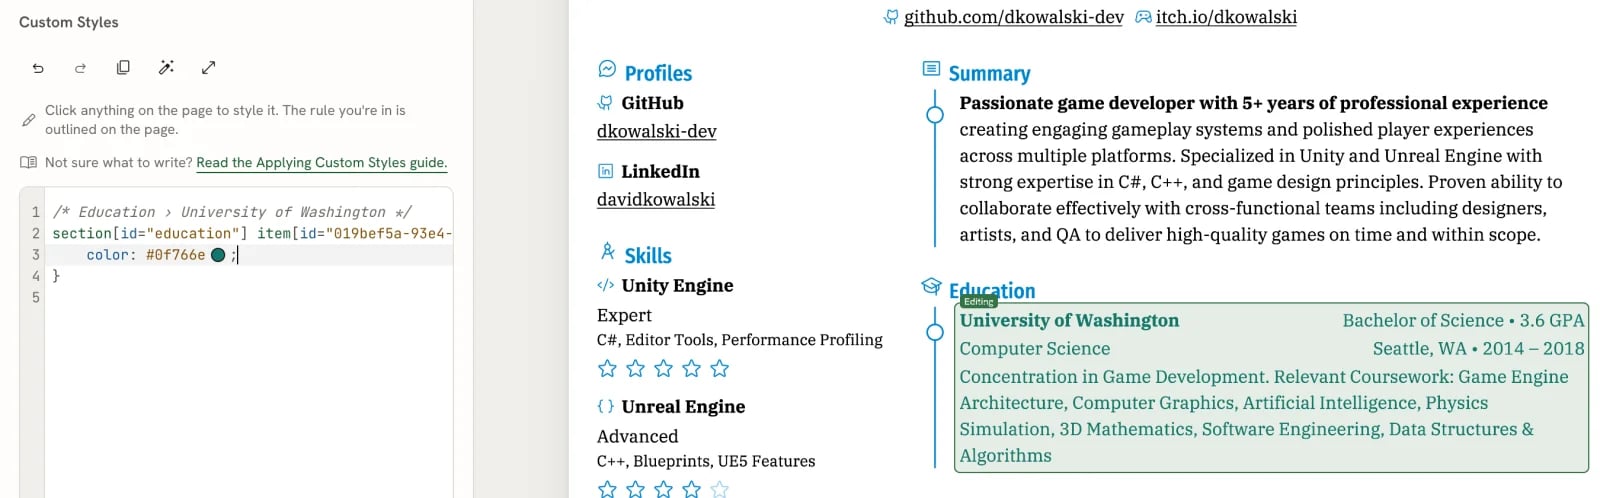
Clicking the University of Washington entry added a rule for it; the dashed outline shows what the rule styles
Find an entry by name
You can also add an entry’s selector without clicking the page. Where a selector goes (outside any{ }), start
typing part of the entry’s title, such as Senior. The suggestions include matching sections and entries, shown as
“Section › Entry”. Choose one to insert its selector.
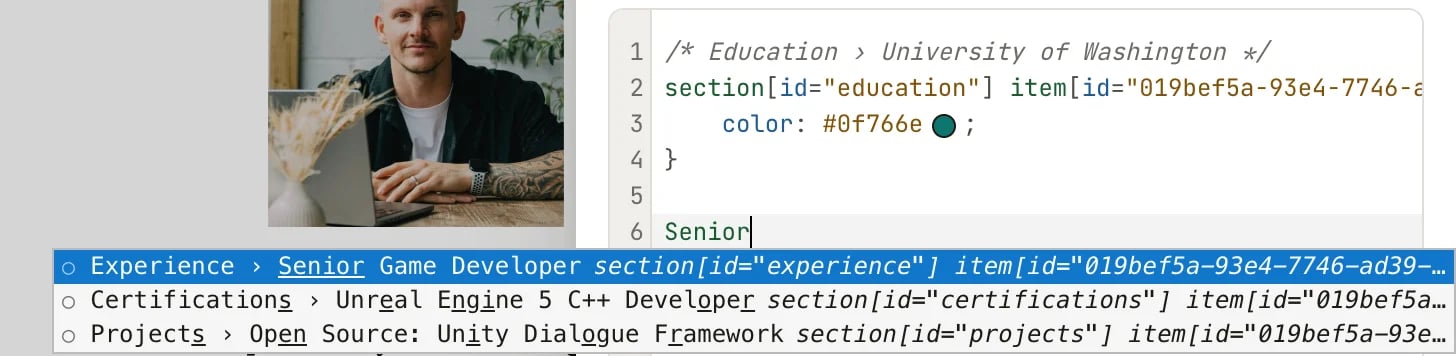
Typing “Senior” suggests the Senior Game Developer entry; choosing it inserts its selector
--resume-* variables. Press Ctrl
Space to open the suggestions without typing.
A few more editor helpers:
- Hover an element name, property or
--resume-*variable to see a short description. - Color swatches appear after color values. Click one to pick a color from presets or a custom picker; the value in your CSS changes with it.
- Search with ⌘ F (Ctrl F on Windows and Linux).
Use the editor toolbar
While typing in the stylesheet editor, ⌘ Z and ⌘ Shift
Z use the editor’s local text history. The toolbar buttons use your resume’s shared history, so they can also
reverse a template switch or another resume change. See Undoing changes and version
history.
Your stylesheet saves automatically with the rest of the resume, and it’s part of every saved version in History.
When a rule has no effect
Fatal stylesheet errors appear above the editor. For individual rules, the PDF engine applies what it understands and skips the rest: an unsupported declaration is skipped on its own, and a rule with an invalid selector is skipped as a whole. If a change doesn’t show:- Check the selector matches something. Put your cursor inside the rule. If nothing is outlined on the page, the selector matches nothing. Check spelling (names are lowercase and case-sensitive), attribute values, and whether the current template has that part.
- Check the property is supported for that element. See the properties and
engine limits below. For example,
background-colorworks on containers such assectionandheader, but not on text elements such asfield. - Simplify. Reduce the rule to one selector and one declaration, confirm it works, then add more.
- Check the limit message. More than 128 KB, 1,024 rules, 8,192 declarations, 64 selectors in one rule or four nested media blocks makes the whole stylesheet unusable; the editor reports this.
Engine limits
The PDF engine accepts these without an error but doesn’t draw them:- Rotation (
transform: rotate(...)). The picture’s Rotation control is disabled while the PDF engine lacks support. - Dashed and dotted borders. They draw as solid lines.
- Percentages for padding, margin, gaps and font sizes. Percentages work only for
width,height, theirmin-andmax-forms,flex-basis,leftandright. z-index,max-lines,text-indent,vertical-align,object-positionand-resume-min-presence-ahead.
Copy styles to another resume
Section types, element names and field names work in any resume. Rules that use an entry’sid only match that
entry, and template parts only exist in their template.
- In the source resume, select Copy stylesheet.
- In the other resume, open Design → Advanced → Custom Styles and paste.
- Remove or rewrite rules with
item[id=...]selectors, and template-part rules for a different template. - Check the page and the downloaded PDF.
Reference
Target the right part of your resume
Semantic CSS selectors describe resume content, not a template’s internal layout. Element names and attribute names are lowercase and case-sensitive. Resume structure
Header and entry content
Rich text and lists
Narrow a selector with attributes
Attribute matchers
=, ~=, ^= and *= are supported. #projects is shorthand for [id="projects"] when the ID
is a plain word (section IDs such as experience are; entry IDs aren’t, so use item[id="..."]).
Selectors can be combined with commas, and with the descendant (space), child (>), next-sibling (+) and
later-sibling (~) combinators. Supported pseudo-classes: :root, :first-child, :last-child, :only-child,
:nth-child(), :nth-of-type(), :is(), :where() and :not(). :nth-of-type counts elements of the same kind,
so item:nth-of-type(1) is the first entry.
page-number counts pages in Layout, not
physical PDF pages: if an authored page overflows, its generated continuation pages use the same background.
Reuse your Design settings
Your Design settings are available as read-only--resume-* variables. Define your own variables in :root and
reuse the resume’s values, so your styles follow when you change a color or size in Design.
--resume-* variable; create your own, such as --accent, instead.
Use
pt for predictable sizes in a PDF. Lengths also accept px, in, mm, cm, em and rem, and % where the
engine limits allow it. inherit and initial work as values, and !important is respected.
Properties
background-color and borders apply to container elements (such as header, section, item, region), not to
text elements. display: none hides an element that’s already there; to remove content, hide it in Write instead,
so it’s also left out of exports.
Backgrounds must be flat colors. Gradients such as linear-gradient(...) aren’t supported:
Style common details
List rows, markers and text:gap works too; row-gap doesn’t change this single row):
Control page breaks and page size
Start a section on a new page, keep entries whole, or set a custom page size. Review the downloaded PDF after each change.size takes A4, letter, or a width and height. It applies only to page and can’t be inside @media.
@media queries use the PDF page’s dimensions, not your browser window. Supported features are width, min-width,
max-width, height, min-height, max-height and orientation (portrait or landscape).
Template-specific parts
Some templates expose extra details that others don’t have. Always guard these rules withresume[template="..."], so
they don’t apply by accident after a template change.
Kakuna, Lapras, Onyx and Porygon have no template-specific parts.
Every template also has
template-part[name="item-header-row"]: the row with the title and date in Awards,
Certifications, Projects and Publications entries. It doesn’t need a template guard.
Not supported
Classes, pseudo-elements (::before, ::after), CSS Grid, @import, @font-face and other at-rules except
@media, url() and any external file, gradients, general box shadows, filters, animations and transitions. Use the
Design controls for fonts, the picture and broader layout changes.
Related guides
- Choosing a template: a different template may get you most of the way without CSS.
- Customizing typography: fonts, sizes and line height from Design.
- Arranging the layout: columns, sidebar and page breaks without CSS.
- Undoing changes and version history: get back to a stylesheet that worked.